How to Upgrade Road Bike Handlebars: A Step-by-Step Guide

Table of Contents
- Why Upgrade Your Road Bike Handlebars
- Road Bike Handlebar Width Guide and Fit Considerations
- Tools Needed for Bike Handlebar Replacement
- Step-by-Step Installation Guide for Handlebar Upgrades
- How to Wrap Road Bike Bar Tape for Comfort and Control
- Handlebar Material Comparison: Carbon vs. Alloy
- Compatibility With Your Groupset and Components
- Common Mistakes to Avoid During Installation
Last Updated: August 27, 2026
Why Upgrade Your Road Bike Handlebars
Upgrading road bike handlebars transforms comfort, control, aerodynamics, and power transfer. The wrong handlebars cause hand numbness, wrist pain, and shoulder fatigue, forcing your body into positions that waste energy or compromise stability. The right ones distribute pressure evenly, reduce vibration, and align your body for efficient output. Health and Fitness Company recognizes that cyclists often overlook handlebar selection until discomfort forces the issue. By understanding what makes a handlebar work for your body and riding style, you can make an informed choice before problems develop. Below, we'll show you exactly how to upgrade road bike handlebars from removal through installation, wrapping, and adjustment.
Road Bike Handlebar Width Guide and Fit Considerations
Handlebar width is the single most critical measurement for comfort and control. Width is measured center-to-center across the bar, and the ideal size depends on your shoulder width, riding position, and cycling type.
Most drop bars range from 38cm to 46cm (uci.org). A common mistake is choosing based on appearance rather than fit. Your shoulders should sit directly above your hands when you're in the drops. If the bar is too narrow, you'll feel unstable and cramped. Too wide, and you'll work harder to control the bike, especially during climbs.
For road cycling, measure your shoulder width and subtract 1-2cm. Compact geometry handlebars (38-40cm) suit riders with narrower shoulders or those prioritizing aerodynamics. Standard width (42-44cm) works for most road cyclists. Wider bars (44-46cm) provide better climbing control and stability on rough pavement.
Reach and drop also affect fit. Reach is the horizontal distance from the stem to the end of the bar; drop is the vertical distance from the top to the drops. More reach increases aerodynamic advantage but reduces comfort on long rides. More drop creates a more aggressive position. Your hands should have multiple positions on the bar, hoods, and drops to reduce pressure points during long efforts.
Tools Needed for Bike Handlebar Replacement
Installing new handlebars requires specific tools to prevent damage and ensure safe installation.
Essential Tools Checklist
You'll need:
- Allen wrench set (typically 4mm, 5mm, 6mm), for stem bolts and brake lever mounting
- Torque wrench (4-10 Nm range), critical for tightening stem bolts to specification without over-tightening
- Screwdrivers (Phillips and flat-head), for brake lever adjustment screws and cable stops
- Cable cutters, for cleanly trimming hydraulic brake lines and internal cable routing
- Bike stand or repair stand, holds the bike stable while you work on the cockpit
Without a torque wrench, you risk either under-tightening (bars slip) or over-tightening (cracked carbon fiber or stripped bolts).
Optional Tools for Advanced Setup
If you're upgrading to a more complex cockpit or dealing with internal cable routing:
- Cable housing cutter, for cleaner cuts and reduced fraying
- Derailleur hanger alignment tool, if you need to adjust cable tension after repositioning shifters
- Headset wrench, for adjusting headset preload if bar height changes significantly
- Tape measure or calipers, for verifying handlebar width and reach before installation
Step-by-Step Installation Guide for Handlebar Upgrades
Installing new handlebars takes 1-2 hours for a straightforward swap. Plan for 2-3 hours if rerouting cables or adjusting your cockpit significantly.
Step 1: Remove Your Old Handlebars
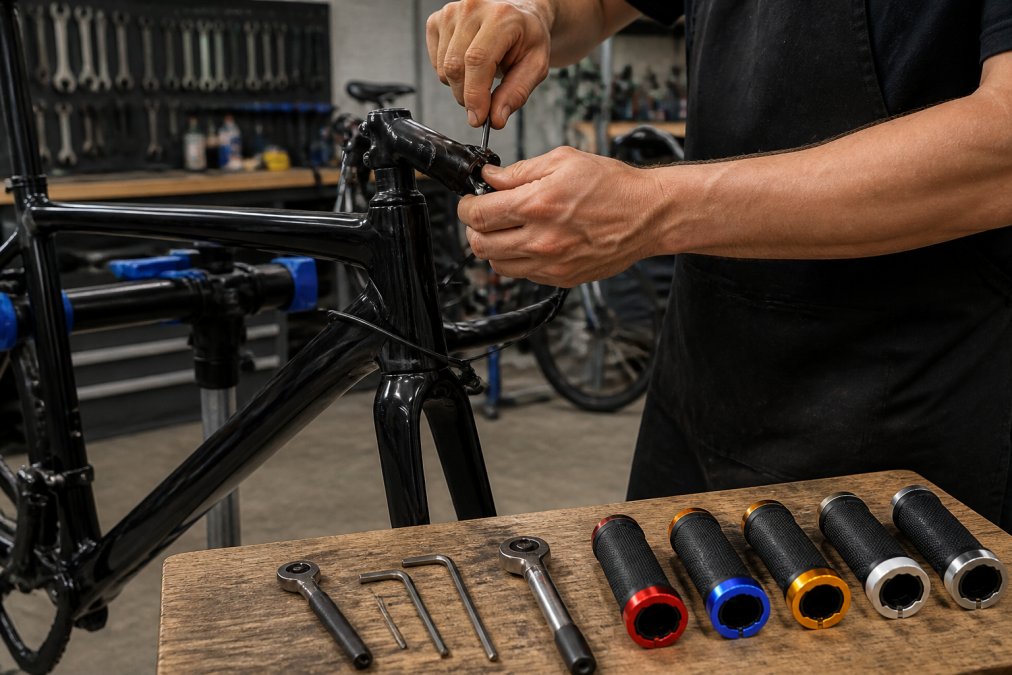
Secure your bike in a repair stand. Locate the stem bolts that clamp the handlebar to the stem. Use the appropriate Allen wrench to loosen these bolts in a cross pattern. Don't remove them completely yet; just loosen enough to slide the bar out.
Mark the shifter and brake lever positions with tape or a marker for reference. Take a photo of your current setup. Once the stem bolts are loose, gently slide the old bar out of the stem, wiggling it side-to-side if needed. Be careful not to bend brake lines or shifter cables if still attached.
Step 2: Prepare the Stem and Headset
Inspect the stem's clamp area and clean it of debris. A clean clamp ensures even pressure when you tighten the new bar. Check the stem bolts themselves; if stripped, corroded, or damaged, replace them now. Standard road bike stems use M5 bolts.
Ensure your headset is properly adjusted. If your new bar has a different stack height than your old one, you might need to adjust headset preload or add spacers below the stem. Stack height is the vertical measurement from the clamp area to the top of the bar.
Step 3: Install Your New Handlebar
Slide the new bar into the stem clamp, positioning it so it's centered and level. Tighten the stem bolts in a cross pattern, alternating between opposite sides to ensure even pressure. Start with light pressure, then gradually increase in multiple passes.
Use your torque wrench for final tightening. Most road bike stems specify 5-6 Nm for stem bolts (shimano.com). Tighten to that value, no more. Once secure, check that the bar is level and centered by sighting down from behind the bike.
Step 4: Route Cables and Brake Lines
Position your shifters and brake levers at the same height as they were on your old bar. Tighten the lever mounting bolts to the specified torque (typically 4-5 Nm). Route the brake cables and derailleur cables along the bar and down the frame, ensuring cables have enough slack for full lever and shifter movement without binding. Test the shifters and brakes before wrapping the bar.
For internal cable routing, thread cables slowly through the handlebar and ensure they exit at the correct port. For hydraulic disc brakes, ensure brake lines have enough slack and aren't twisted or pinched.
How to Wrap Road Bike Bar Tape for Comfort and Control
Bar tape improves grip and comfort by absorbing vibration from the road. Most road cyclists use cork or foam bar tape. Cork offers a classic feel and good vibration absorption; foam is lighter and more affordable.
Start wrapping at the bottom of the drops at a slight angle (about 45 degrees to the bar axis), wrapping upward in overlapping layers. Each wrap should cover about two-thirds of the previous layer. Maintain steady tension, too tight causes bunching, too loose causes slipping.
As you approach the hoods, cut small pieces of tape and overlap them carefully around the brake lever. Once you reach the top, cut the tape at an angle and fold it over the top edge. Apply finishing tape to cover the seam.
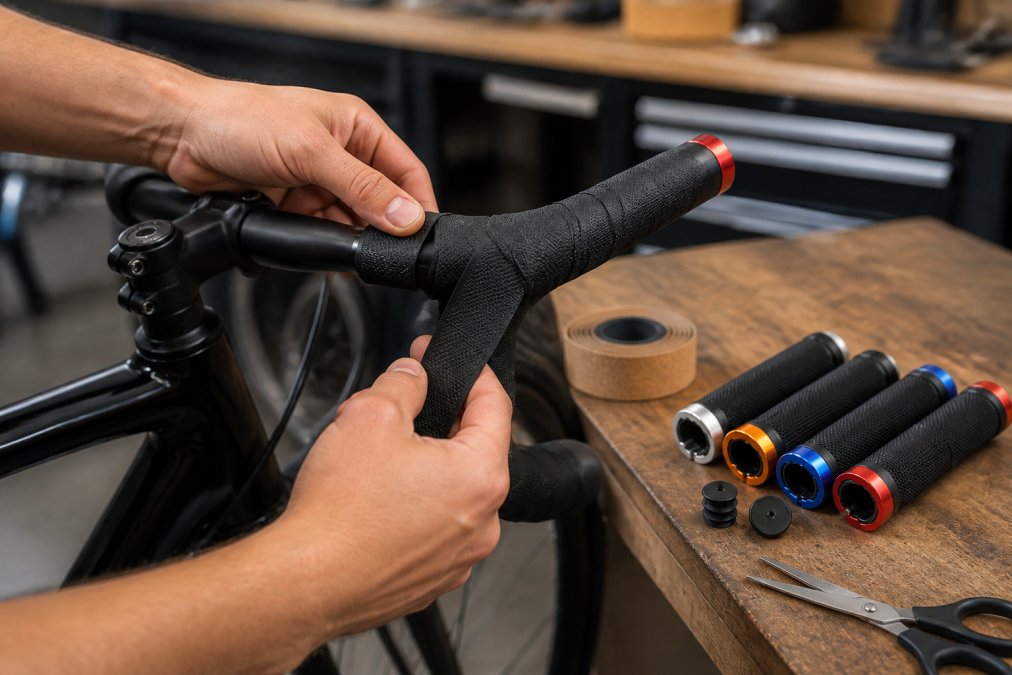
Test the wrapped bar by squeezing it in different spots. The tape should feel uniform and not shift under pressure. A properly wrapped bar will last 1-2 years before needing replacement.
Handlebar Material Comparison: Carbon vs. Alloy
Carbon fiber offers superior compliance and vibration damping, absorbing road buzz better than alloy, which translates to less hand fatigue on long rides. Carbon is also lighter, typically 150-200 grams per bar versus 250-350 grams for alloy (peer-reviewed research). The downside is cost; carbon bars run $80-200, while alloy bars cost $20-60. Carbon is also more fragile, a crash can create internal damage that weakens the bar without visible signs.
Aluminum alloy is durable, affordable, and easy to repair. If you crash and bend an alloy bar, you can often bend it back or replace it cheaply. Alloy bars are heavier but stiffer, which some riders prefer for direct feel. Health and Fitness Company's Alloy Bicycle Handlebar offers precision-engineered durability at just $20.76, making it an excellent choice for cyclists who prioritize reliability over weight savings.

For most road cyclists, the choice comes down to budget and riding style. If you're racing or doing long audax rides where hand comfort is critical, carbon's compliance advantage is worth the cost. If you're building a reliable training bike, alloy is practical and cost-effective.
Compatibility With Your Groupset and Components
Your new handlebars must work with your existing shifters, brakes, and stem.
Clamp diameter is the most critical specification. Road bike stems use either 26.0mm or 31.8mm clamp diameters. Most modern road bikes use 31.8mm. If you buy a bar with the wrong diameter, it won't fit in your stem.
Shifter compatibility depends on your groupset. Shimano and SRAM shifters are broadly compatible with most bars. Campagnolo shifters are more finicky and may require specific bar profiles or adapters.
Brake lever compatibility is straightforward. Road disc brakes and rim brakes mount differently. Hydraulic disc brake levers require specific mounting points. Ensure your new bar has the correct mounting points for your brake type.
Internal cable routing adds complexity. If your current bar has internal routing and you want to keep it, your new bar must also support it. Electronic shifting systems like Shimano Di2 or SRAM eTap require battery-powered shifters with electrical connectors; ensure your new bar has the correct mounting points.
Common Mistakes to Avoid During Installation
Over-tightening stem bolts is the leading cause of handlebar failure. Use a torque wrench and follow the manufacturer's specification exactly.
Forgetting to mark shifter and brake lever positions before removal leads to poor cockpit ergonomics. Take a photo before you start.
Pinching cables during installation causes sluggish shifting or brake drag. Route cables carefully and test full lever and shifter movement before wrapping.
Wrapping bar tape too tightly creates pressure points and wrinkles. Wrap with steady, moderate tension and unwrap if you see bunching.
Skipping headset adjustment after changing bar height causes steering problems. Test steering before and after the upgrade.
Installing brake levers at the wrong angle reduces braking power. Use your reference photo to match your previous setup, then test braking in a safe area.
Not testing the bike after installation is the biggest mistake. Before taking your bike on a long ride, test the new setup in a parking lot. Shift through all gears, brake hard, and turn sharply to confirm everything works smoothly.
Upgrading road bike handlebars is one of the most impactful upgrades you can make. The right handlebars reduce hand fatigue, improve control, and make long rides enjoyable. Health and Fitness Company's Alloy Bicycle Handlebar delivers precision engineering and durability at an unbeatable price point. With proper installation, cable routing, and bar tape wrapping, your new handlebars will serve you reliably for years.
Frequently Asked Questions
Can I change the handlebars on my road bike myself?
Yes, upgrading road bike handlebars is a task most cyclists can handle with basic tools and patience. You'll need an Allen wrench set, screwdrivers, and a torque wrench to ensure proper tightness. The process involves removing your old handlebars from the stem, routing cables through the new bars, and securing everything with the correct torque specifications. If your bike has internal cable routing or hydraulic brakes, the task becomes more involved but is still manageable with careful attention to detail.
What's the difference between alloy and carbon handlebars?
Alloy handlebars offer excellent durability, affordability, and vibration damping at a lower price point, making them ideal for most cyclists. Carbon fiber handlebars are lighter and provide superior vibration absorption, but they cost significantly more and require careful handling to avoid damage. For road cycling, alloy options like our Alloy Bicycle Handlebar deliver reliable performance without the premium price. Your choice depends on weight sensitivity, budget, and how much vibration damping matters for your riding style.
How do I measure my road bike handlebar width?
Measure your handlebar width center-to-center, from the middle of one drop bar to the middle of the other. Most road bikes use widths between 38 and 46 centimeters, with 42 centimeters being common for average riders. To find your ideal width, stand over your bike and ensure your elbows align roughly with your hip width when in the drops. Wider bars offer more stability and control, while narrower bars reduce weight and improve aerodynamics. Your current handlebar width is a good starting point if you're satisfied with fit.
Is it hard to change handlebars on a bike?
The difficulty depends on your bike's setup. Simple handlebar swaps on traditional cockpits with external cable routing take 30 to 60 minutes. Internal cable routing and hydraulic brake lines require more planning and patience to route correctly. The mechanical steps, removing bolts, sliding the bar out, and installing the new one, are straightforward. The main challenge is ensuring proper cable tension, brake line routing, and torque specifications. Taking your time and following a systematic approach makes the job manageable for most cyclists.
This article was written using GrandRanker